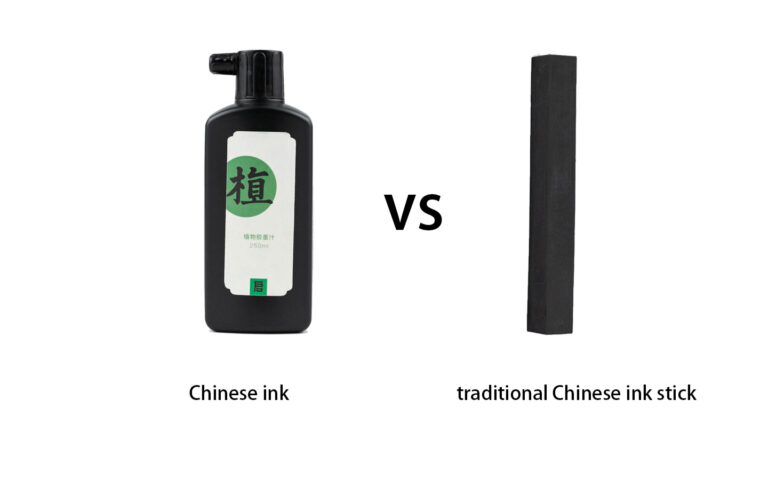
In our previous article, we discussed “Chinese Calligraphy Ink: Ink Stick vs Liquid Ink Guide.” Today, let’s talk about ink sticks (also called ink cakes or ink blocks). Many calligraphy enthusiasts who want to buy ink sticks for grinding their own ink often wonder: How can we tell if an ink stick is good or bad? How should we properly use ink sticks? In this article, we’ll guide you on how to Judge Ink Stick Quality and Grind Ink Properly.
Today, Qi Ming has compiled methods for identifying good and bad ink sticks, plus tips for using and maintaining them.
In “The 5 Best Chinese Ink Brands: Properties, Selection Criteria & Care Guide,” we learned that ink can be categorized by raw materials into pine soot ink, oil soot ink, and lacquer soot ink. The most common types are pine soot ink and oil soot ink. Each has its own characteristics – pine soot ink creates a matte finish when writing, while oil soot ink produces a glossy effect.
Your choice between pine soot and oil soot ink sticks often depends on personal preference. Rather than discussing ink classifications again, let’s focus on how to identify or distinguish between good and bad ink sticks.
1. Methods to Judge Inkstick Quality-Color Testing
When choosing ink sticks, first examine the ink color. The “Ink Classic” provides excellent guidance on this: ink that shows blue-purple light is the best, pure black comes second, and ink showing red-yellow light or white spots is the worst quality.
However, Su Dongpo once said: “People often value ink for being black but don’t appreciate its luster.” This shows that Song Dynasty people cared most about whether ink was black enough, with luster being secondary. But he continued: “Light without blackness is worthless; but black without light lacks spirit and is equally useless.”
This was his personal view – he believed good ink should have blackness with luster. “The light should be clear and not superficial, deep and clear like a child’s eyes – this makes excellent ink.” This kind of clarity, like a child’s bright eyes, indicates truly good ink.
2. Methods to Judge Inkstick Quality-Visual Inspection
Carefully observe whether the ink stick’s surface is smooth and fine. Check for cracks, deformation, or damage. Also examine if any decorative painting is even and lustrous.
Pay attention to the texture – the finer and denser the texture, the higher the ink quality.
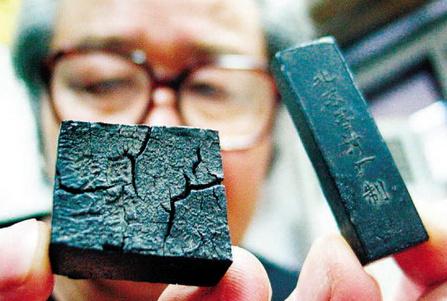
The left one is poor quality ink stick , the right one is good ink stick.
3. Methods to Judge Inkstick Quality-Smell Test
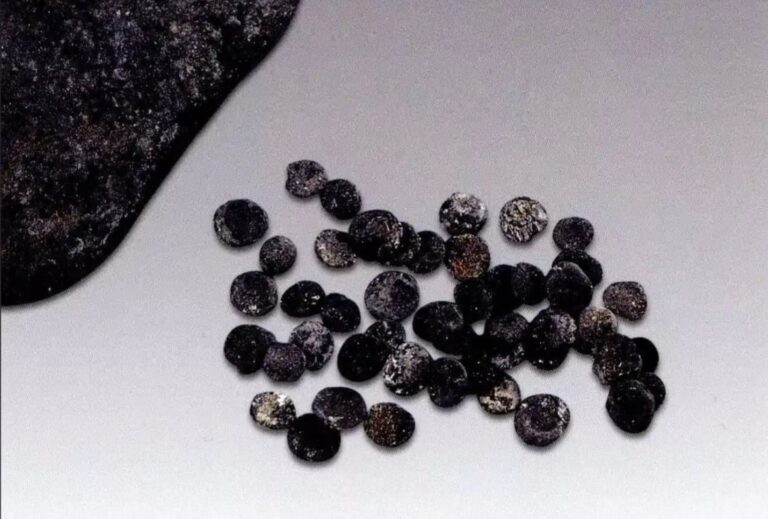
Traditional ink has always been made from four main components: soot material, binding agent, natural additives, and oils. Ancient records show that soot materials came from various mineral, plant, and animal sources burned and broken down into small black particles.
Binding agents include plant gums (like Arabic gum, peach gum) and animal glues (cowhide glue, deer glue, rabbit glue, fish glue, etc.). Since these don’t smell pleasant, manufacturers add fragrances or even Chinese herbs.
Good ink sticks should have a pure, clear fragrance that’s rich but not overwhelming. Avoid ink with unpleasant odors, mold smells, or sour scents. Ink with muddy odors or strong smoke smells is even worse quality.
4. Methods to Judge Inkstick Quality-Sound Test
Lightly tap the ink stick with your finger and listen for a crisp sound. A dull sound indicates lower quality.
5. Methods to Judge Inkstick Quality-Weight Test
An ink stick’s size and weight relate to its quality. The weight should be moderate, with hardness similar to sandalwood. If too light, it breaks easily, crumbles, and sheds particles. Better ink won’t soften even after long water soaking.
This isn’t the only judgment method though. Among same-sized ink blocks, heavier ones are generally better. However, sometimes poor-quality ink becomes heavy due to excess glue or other additives.
For example, among equal-sized ink blocks: old ink is lighter than new ink, “top soot” ink is lighter than “body soot” ink, low-glue ink is lighter than high-glue ink. When judging ink quality, pine soot of equal volume is lighter than oil soot. Ink that absorbs moisture during storage will also be heavier.
Generally, good ink uses better soot material, usually “top soot” (from the top of the chimney during collection – finer, more uniform particles), with less glue, thorough pounding, and good density. Good ink also has excellent color, described as “ink flows like oil, a dot like lacquer.”
How to Grind Ink properly
Now that we’ve covered identifying good ink sticks, let’s discuss how to grind ink. Here we reference classical teacher’s explanations.
Ink grinding has two methods: linear grinding (back-and-forth straight pushing) and circular grinding (turning in circles). Linear grinding is faster, while circular grinding produces finer results.
Add water gradually when grinding – don’t add too much at once. The water-adding tool is called a “water dropper,” usually designed in cute shapes. (For more about water droppers and other study tools, see Qi Ming’s previous article “Ancient Chinese Scholar Desk Items: 45 Traditional Study Tools and Collectibles”)
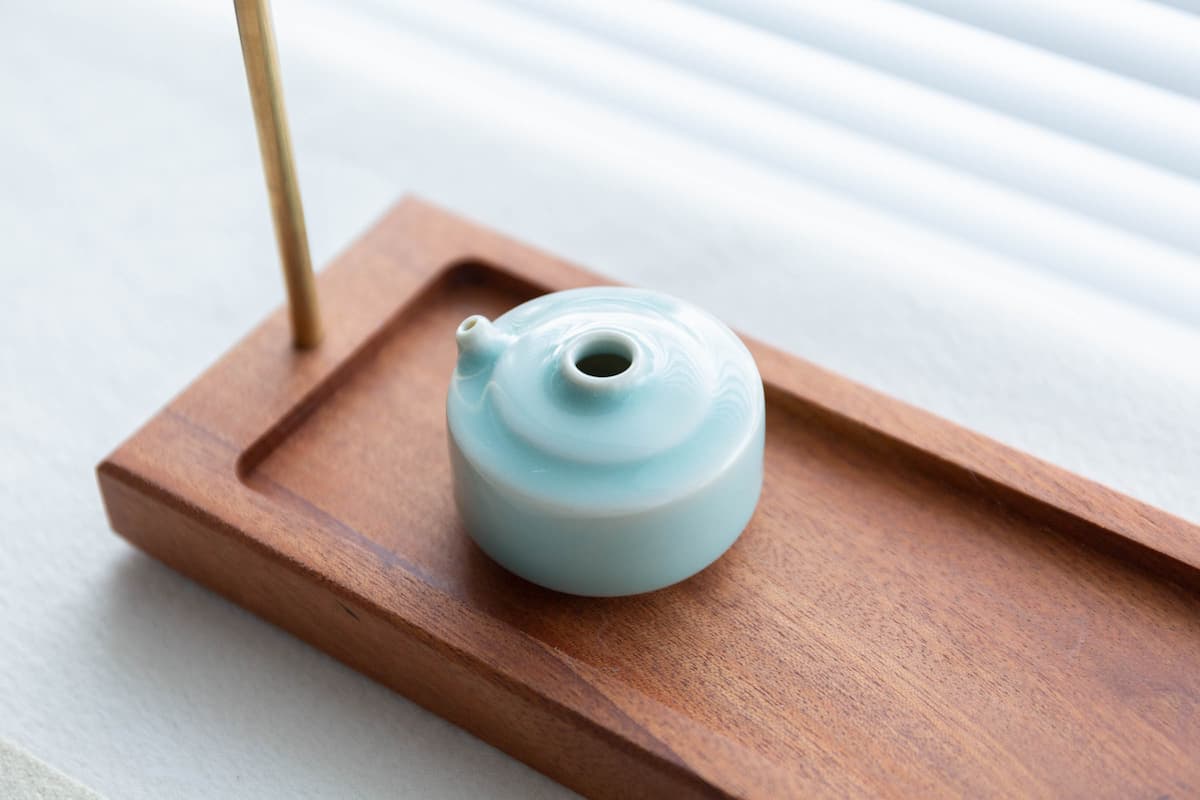
This is water droppers, also called inkstone droppers
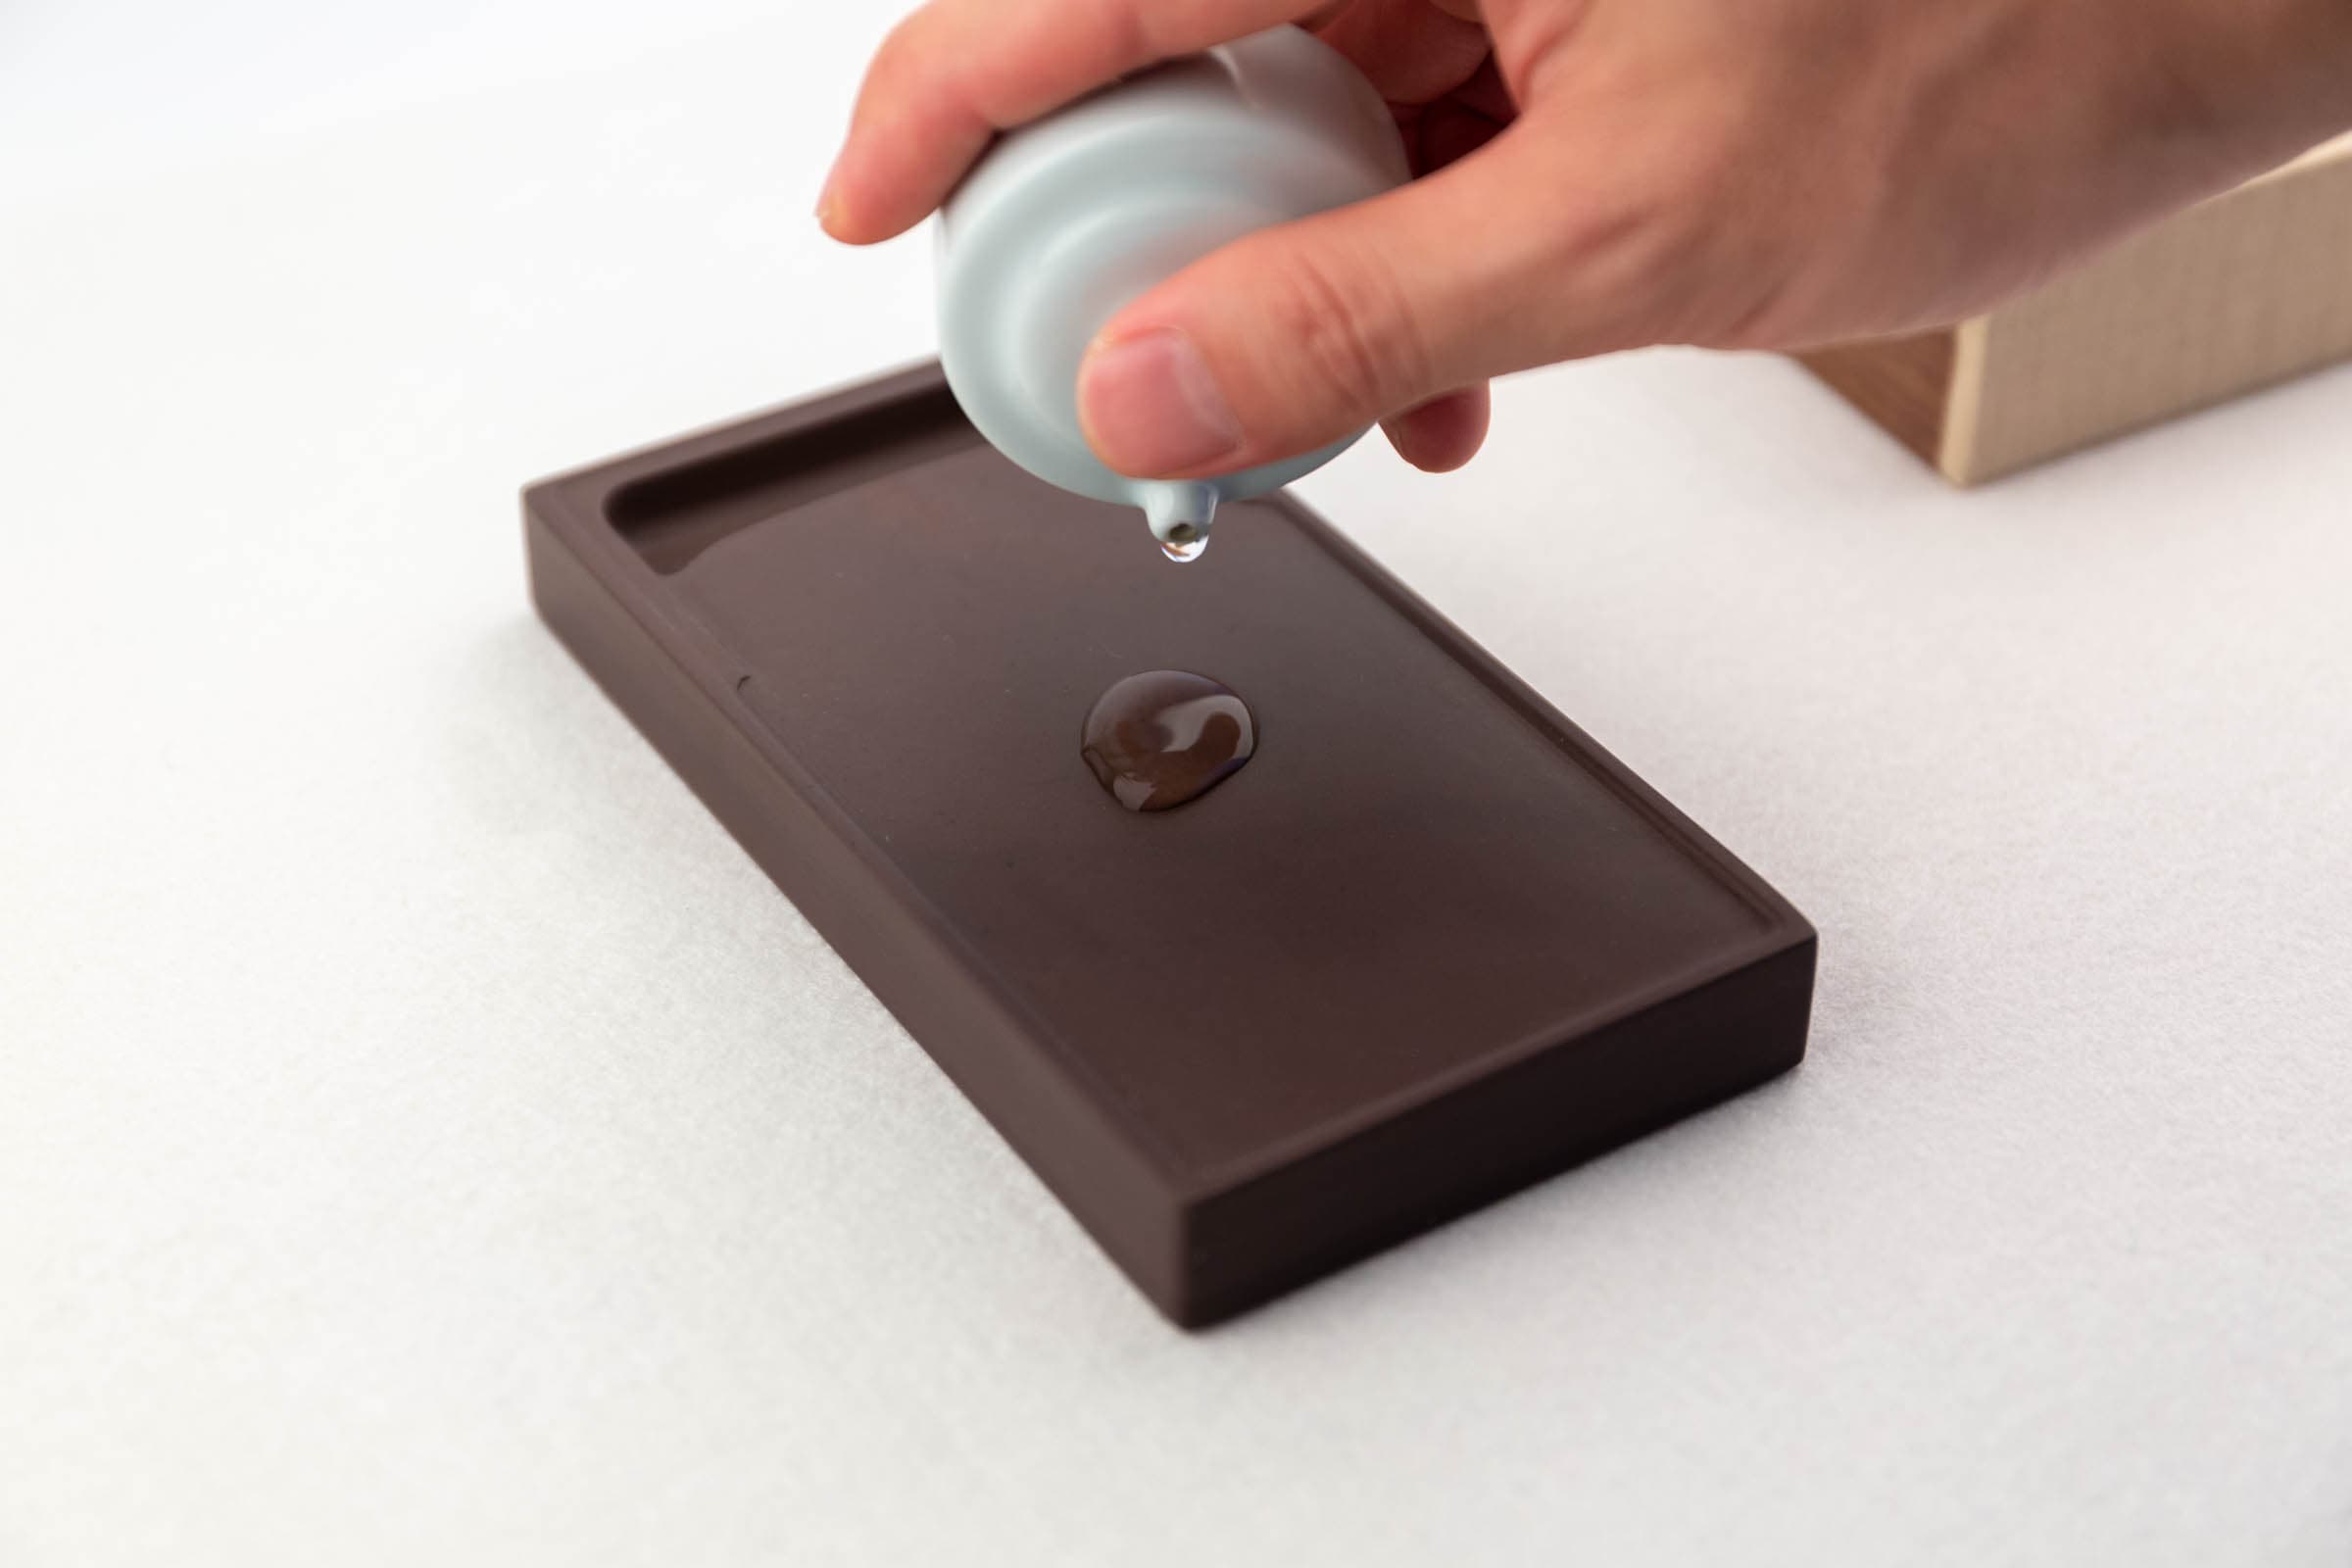
Inkstone droppers are specifically used for adding water to the inkstone while grinding ink,When you release your finger from the small hole at the top, water will flow out.
Note: When you release your finger, don’t lift it too much, or a large amount of water will flow out quickly.
Of course, you can also use a water pot and water spoon to add water.
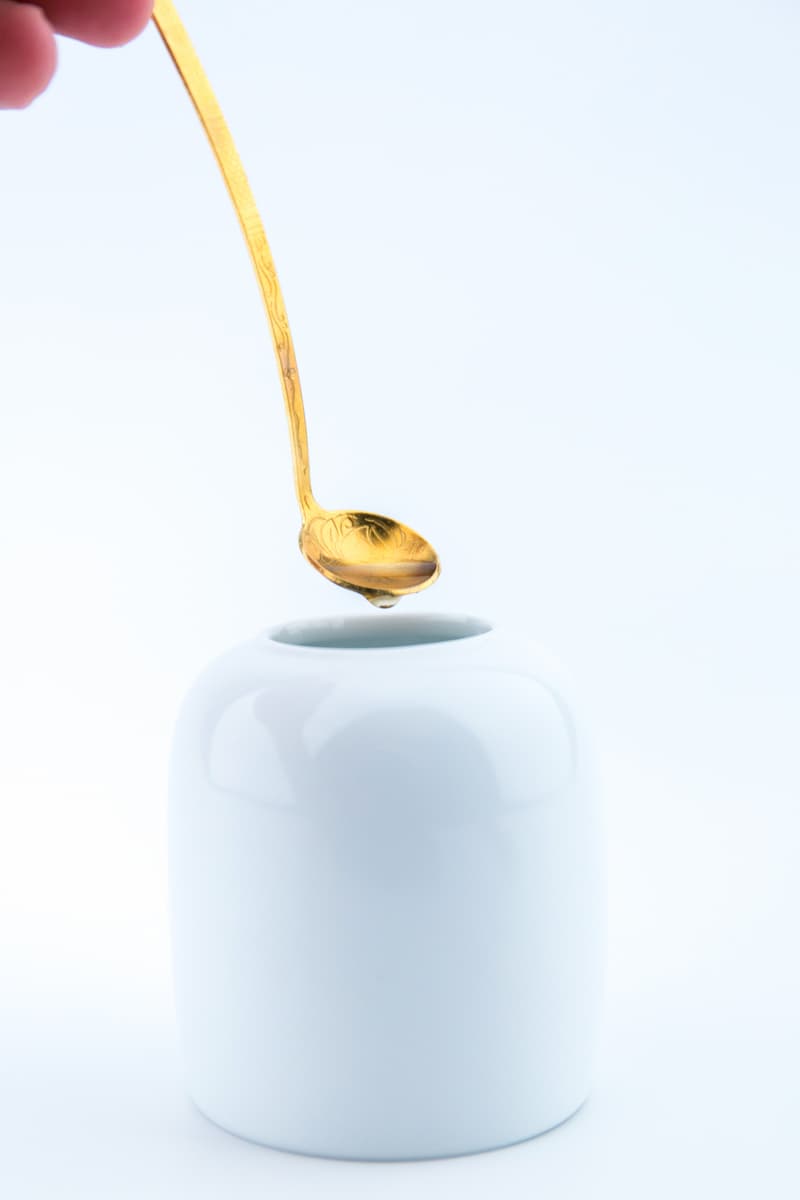
Using a water spoon to scoop water from the water pot
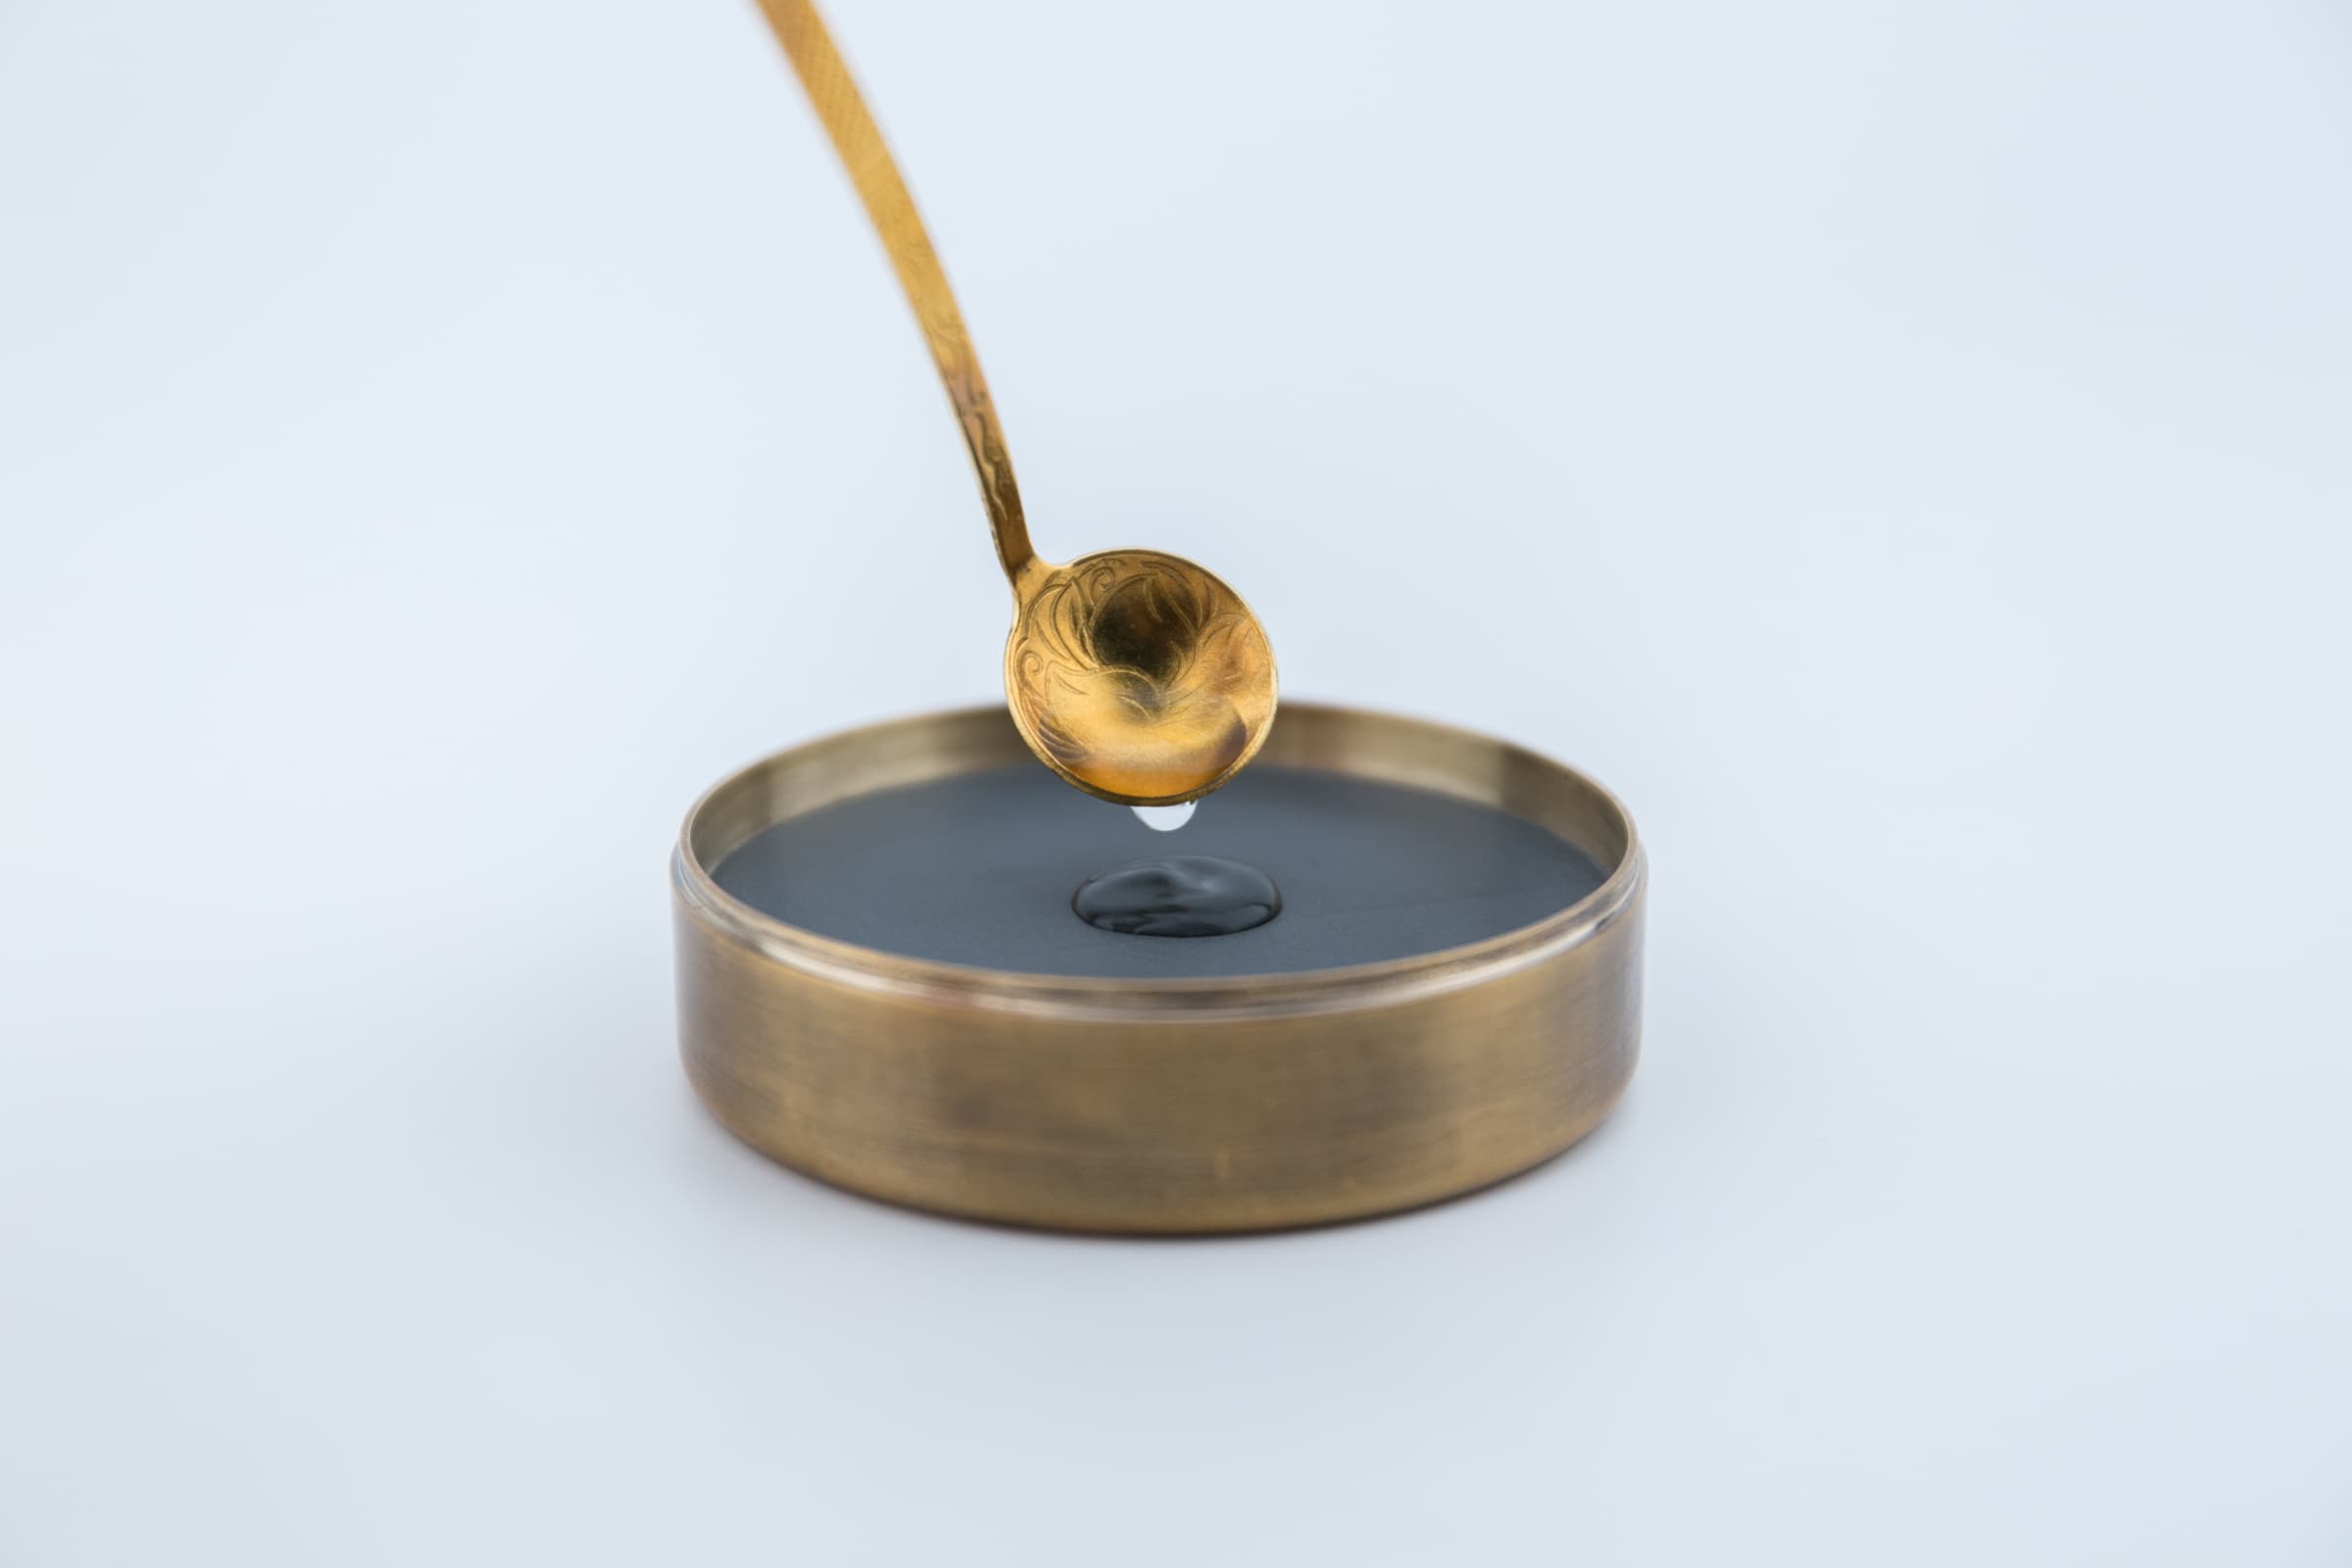
Pouring water from the spoon onto the inkstone
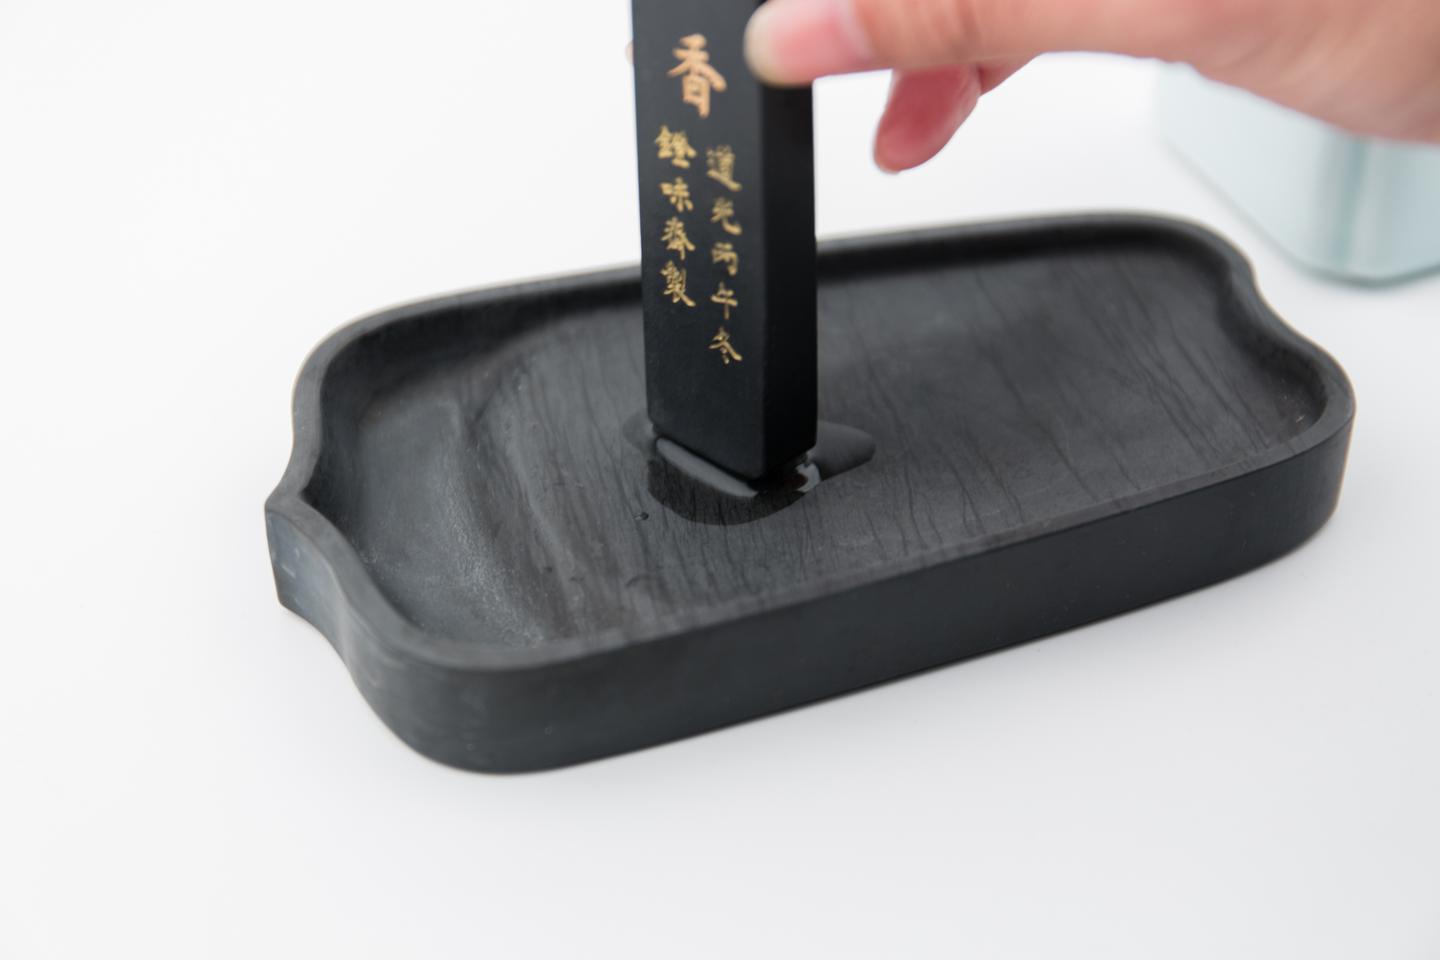
Then dip the ink stick in water first, moisten the grinding surface, wait one minute, then start circular or back-and-forth grinding
Grind the ink slightly thicker than normal use, then add a few drops of water to dilute it. Wait a few minutes, have some tea, and let the ink naturally dissolve – then it’s ready to use. In ancient times, people would grind a full day’s ink early in the morning, letting it gradually dissolve while writing, becoming better and better to use.
When writing, keep a bowl of clean water on the desk. Lightly dip the brush tip in clean water before dipping in ink – this creates writing with balanced dryness and moisture. Generally, write until the brush runs dry before dipping in clean water again, otherwise the clean water quickly becomes an ink pool and needs changing.
Using freshly ground ink for writing helps develop sensitivity to subtle brush and ink changes, making your mind calmer and more focused. Undoubtedly, ground ink penetrates and spreads on paper better and is easier to control.
However, since modern people prefer writing large characters, how much ink would that require? Gradually, everyone switched to using liquid ink for splash effects. Fortunately, when learning classical calligraphy, we follow original character sizes, so grinding ink doesn’t require too much – it’s worth trying ink grinding.
Important Ink Grinding Tips
Qi Ming wants to add several important points about ink grinding:
1. Even Pressure and Moderate Speed
Using too light or heavy pressure, or grinding too fast or slow, will make the ink coarse and uneven. Too light pressure and slow speed wastes time and makes ink float. Too heavy pressure and fast speed makes ink coarse and foamy, with no luster.
The correct method is “press firmly, push lightly” with rhythmic pressure – don’t rush.
2. Appropriate Concentration
Let’s clarify something: even Dong Qichang’s light brushwork used thick ink – the difference was in how much ink the brush held, not the ink’s concentration. If ink contains too much water, it spreads rapidly when the brush touches paper, forming various sized ink blots – how can you call that brushwork?
But don’t overcorrect by using ink thick like half-set jelly either. Remember: use thick ink on white paper; on colored paper, slightly thinner ink works.
3. Grind and Use Immediately
Ink must be freshly ground. If ink sits for more than a day, the glue and soot gradually separate. The ink loses luster and durability, so writing with overnight ink fades easily. Of course, if you prefer using overnight ink, that’s different.
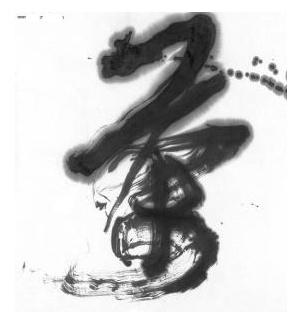
This shows the writing effect of overnight ink. For more about overnight ink, see the explanation at the article’s end.
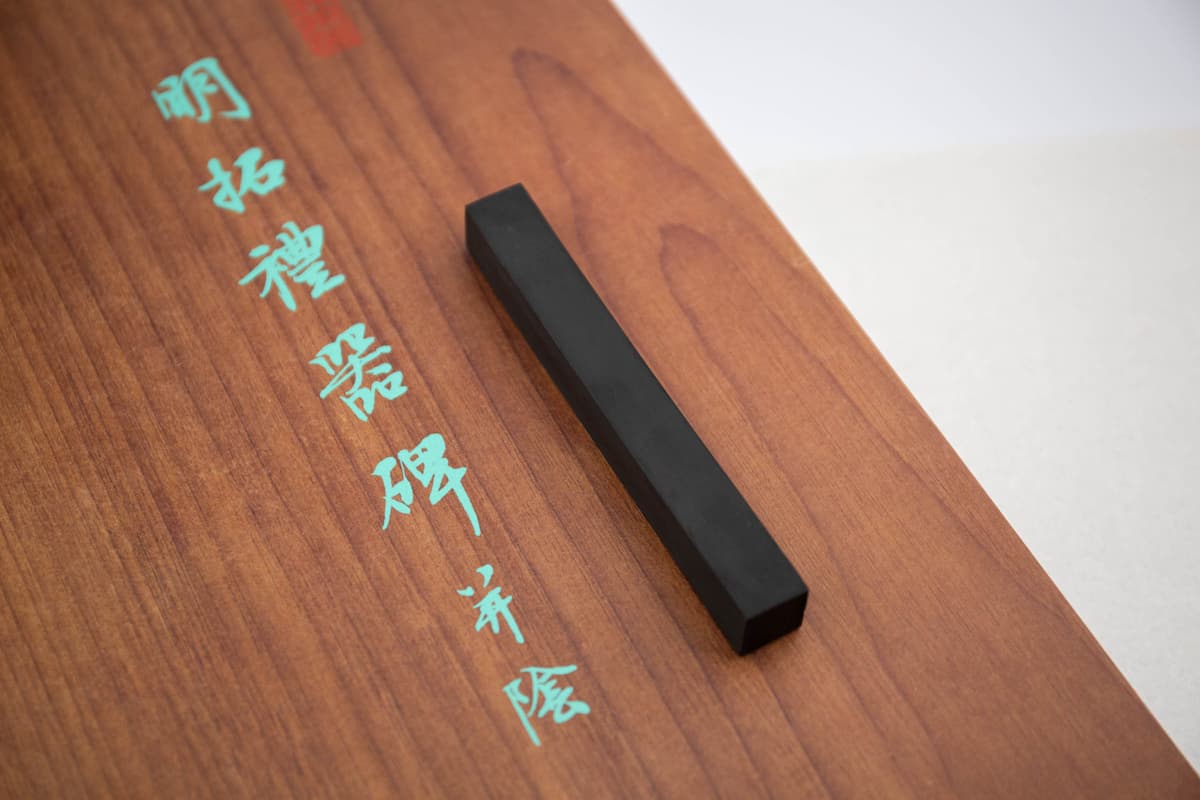
4. Store in Boxes
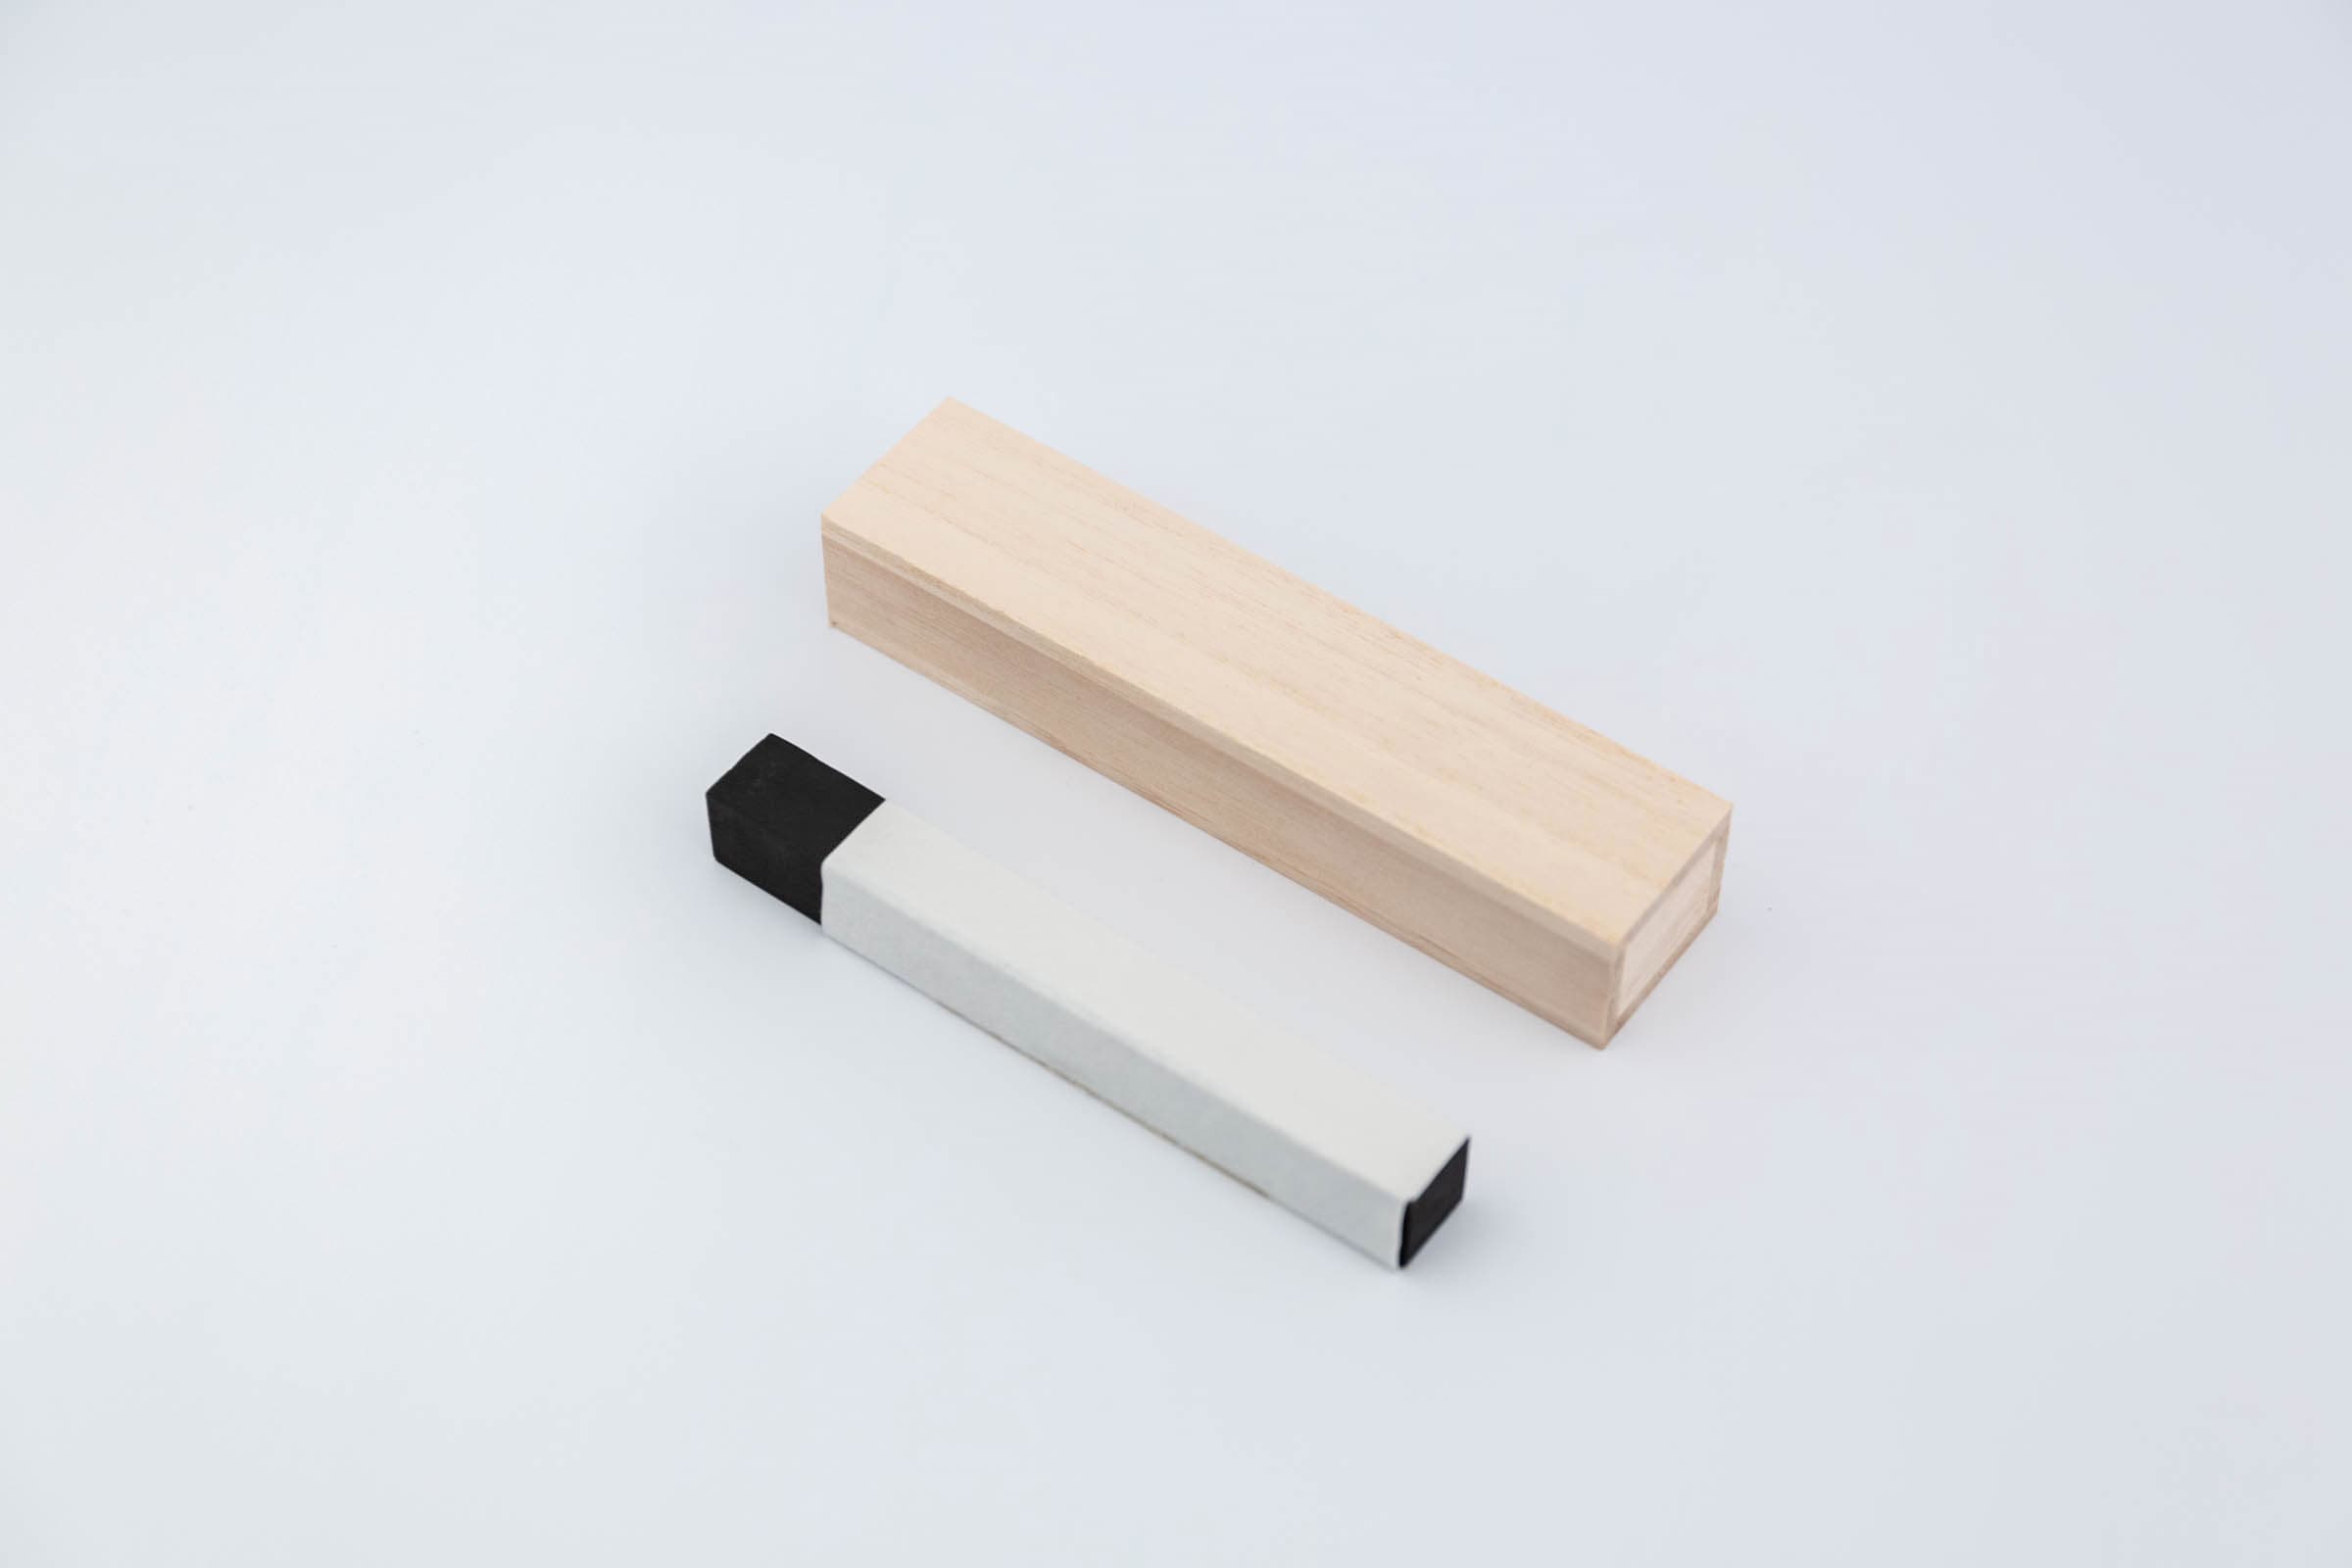
Qi Ming Wen Fang’s ink sticks all come with special wooden storage boxes
Note: Don’t throw away the paper wrapping around the ink stick. Wrapping the ink stick in paper not only protects it but also prevents your hands from getting stained black by the ink stick.
After grinding, immediately remove the ink stick – don’t leave it on the inkstone. Otherwise, glue easily sticks to the inkstone and is hard to remove when dry, plus it prevents moisture damage.
We recommend storing in wooden boxes. Qi Ming Wen Fang’s ink sticks all come with special wooden box packaging. After grinding, wipe the ink stick clean with tissue, wrap it in Xuan paper or small plastic bags, then place in the wooden box. If ink sticks are exposed long-term, they may crack due to dry environments.
(Qi Ming note: The storage boxes mentioned here are ink boxes. You can learn more about ink boxes in Qi Ming’s article “45 Types of Elegant Study Room Items (Absolutely Eye-Opening)”)
Overnight Ink: A traditional Chinese painting ink technique referring to thick black ink liquid formed when inkstone ink sits overnight and loses its binding properties. First mentioned in Northern Song Dynasty Guo Xi’s “Lofty Ideals of Forests and Springs” in the “Seven Ink Methods.”
Its characteristics include thick, water-containing consistency with clear brush marks, extremely black color with granular texture. Usage requires precise water control to avoid dry, hard, or muddy effects. Often used for final touches to enhance layered contrast.
This technique uses natural evaporation or soaking to remove binding agents. The ink shows a “water moves but ink doesn’t” effect due to decomposed glue, creating unique misty atmosphere. Huang Binhong included it in his “Seven Inks” system, using “layered ink breaking overnight ink” technique in landscape painting to create “rich and magnificent” visual impact. Wu Shanming expanded it to figure painting, combining with staining methods to develop light overnight ink technique, forming ethereal, crystalline modern ink language.