A lot of people who want to learn Seal Script aren’t sure where to start. After looking around online, Qi Ming noticed that most calligraphy teachers begin their lessons with brush control exercises. In other words, almost every experienced teacher treats brush control as step one. That alone tells you how important these exercises are. In this article, Qi Ming has put together some of the most common Seal Script brush control exercises, hoping they’ll help anyone currently learning this script.
A Quick Look at Seal Script History
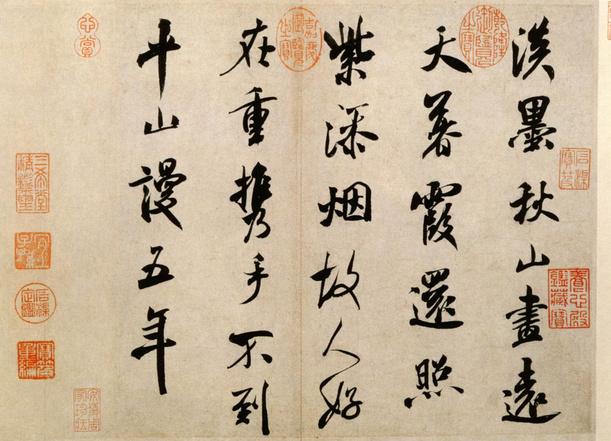
If you know a bit about the history of Seal Script, you’ll know it reached two major peaks. The first was during the Qin dynasty, led by Li Si. The second was during the Qing dynasty, when several master calligraphers — Deng Shiru, Wu Rangzhi, Zhao Zhiqian, and Wu Changshuo — rose to prominence.
The biggest difference between Qin-dynasty Seal Script and Qing-dynasty Seal Script comes down to style. Qin-dynasty Seal Script is written in what’s called the “jade chopstick” style: the strokes are even in thickness from start to finish, smooth and strong, with tall, symmetrical characters that feel formal and dignified. This style became the standard model for Small Seal Script, and it was also the first writing style ever standardized across all of China.
Qing-dynasty calligraphers broke away from that single “jade chopstick” technique, and Seal Script style opened up into many different directions, with several masters each developing their own approach. The exercises in this article are based on the “jade chopstick” style, using Li Si’s famous work, the Yishan Stele, as the model.
1. Horizontal Line Practice
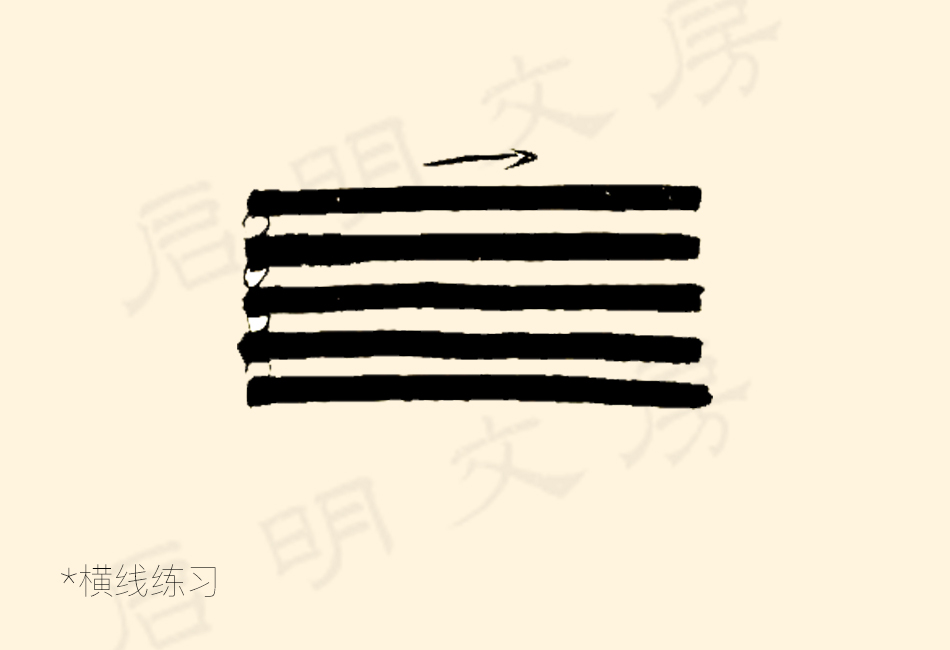
What to focus on:
- Keep the line perfectly horizontal.
- Try to keep the thickness even from start to end.
- Keep equal spacing between each horizontal line.
This spacing matters more than you might think. Practicing it will train your eye to notice the space between lines, which sets you up well for writing Seal Script characters that contain a lot of horizontal strokes.
- Start and end the stroke with a rounded shape.
That instruction sounds simple, but there’s a lot going on underneath it. Let’s break down the beginning, middle, and end of the stroke in detail.
Starting the stroke (hidden tip): This is the idea of “leaning left before moving right.” Before you move the brush to the right, you first push the very tip of the brush slightly to the left. Because the brush tip is cone-shaped, if you lifted the brush at this moment, you’d see a small triangle mark left on the paper. This motion ends with the brush tip pressing straight down onto the paper — though this part happens quickly.
Moving the brush (centered tip): Next, use a light, controlled motion to press the brush down quickly. As you press, the tip naturally forms a round starting point. From there, as you move the brush, the tip stays centered within the stroke and moves in the exact opposite direction of your stroke’s motion. Stay focused and keep your pressure steady — don’t press harder or lighter at random points, and don’t let the tip drift above or below center. Otherwise, the line, which should look smooth on both sides, will end up uneven, or smooth on one side and rough on the other.
Ending the stroke (tucking the tip): As you move the brush to the right, gradually and fairly quickly gather the bristles back into a cone shape, then give it one final tuck right at the very end. During this tuck, the brush handle briefly stands straight up, perpendicular to the paper, before lifting cleanly and quickly off the page.
- Gradually try writing horizontal lines of different thicknesses.
This helps you feel the difference between pressing harder and pressing lighter, so you slowly build a sense of exactly how much pressure produces a thick line versus a thin one.
2. Vertical Line Practice
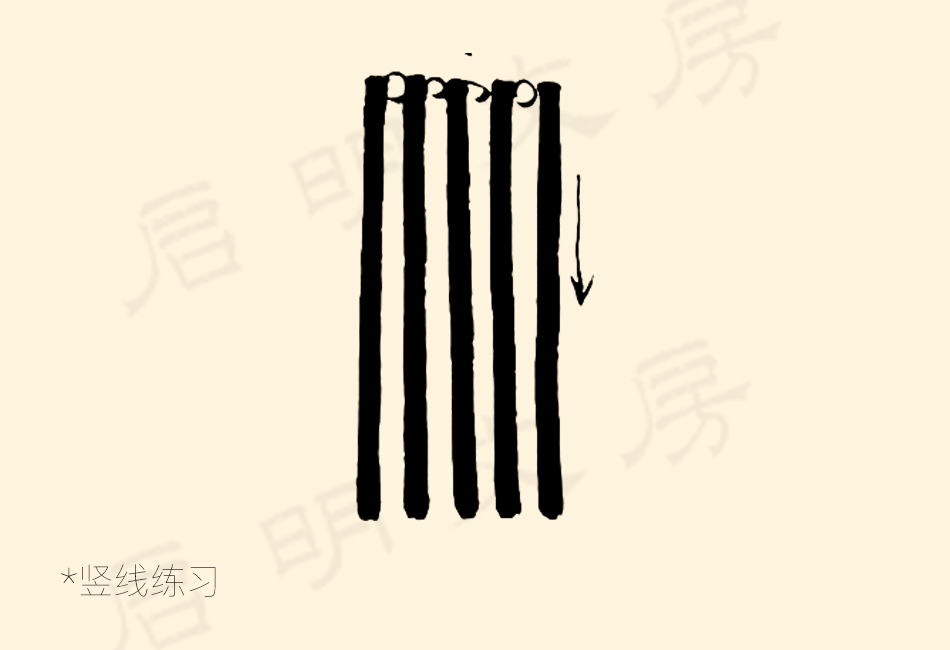
What to focus on:
- Keep the line perfectly vertical.
- Try to keep the thickness even throughout.
- Keep equal spacing between each vertical line.
- Gradually add more lines as you practice.
- Start and end each stroke with a rounded shape.
- Try different thicknesses as you go.
3. Combined Horizontal and Vertical Line Practice
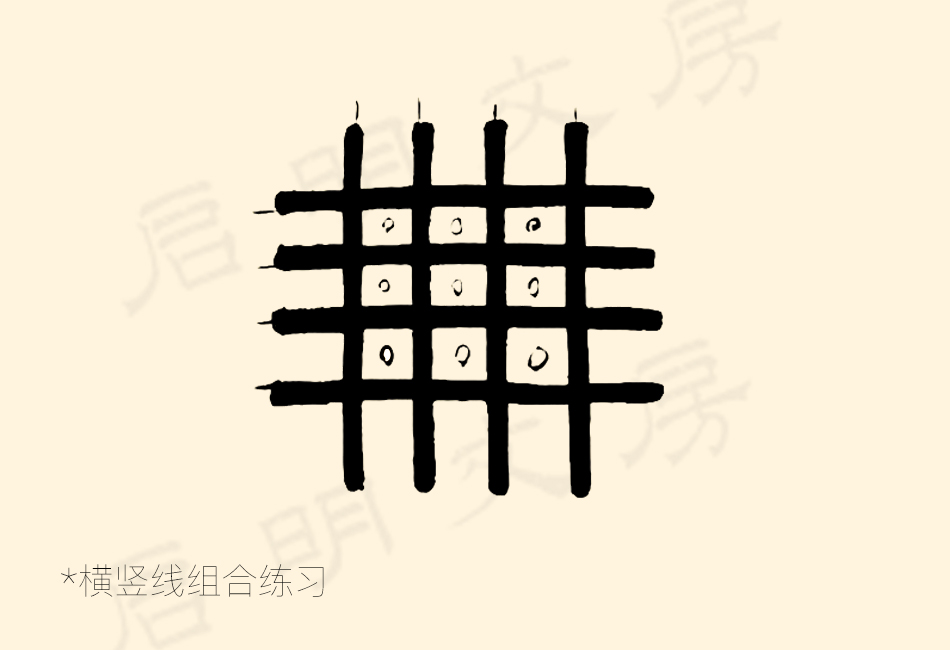
What to focus on:
- Horizontal lines should stay perfectly level.
- Vertical lines should stay perfectly straight up and down.
- Keep the thickness consistent throughout.
- Keep the spacing consistent.
- Pay attention to the blank spaces formed where horizontal and vertical lines meet — try to keep those even too.
4. Symmetry Practice
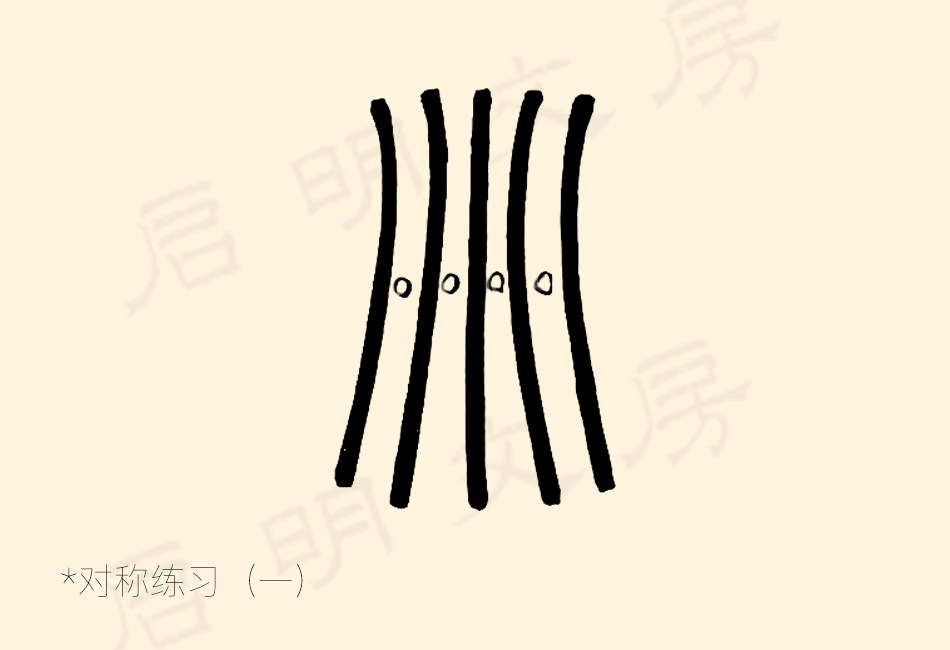
Set 1 — What to focus on:
- Use the center vertical line as your reference point.
- Keep the left and right curves symmetrical, with even spacing.
- Pay attention to how much each curve bends.
- The curves should run either parallel to each other or fan out slightly.
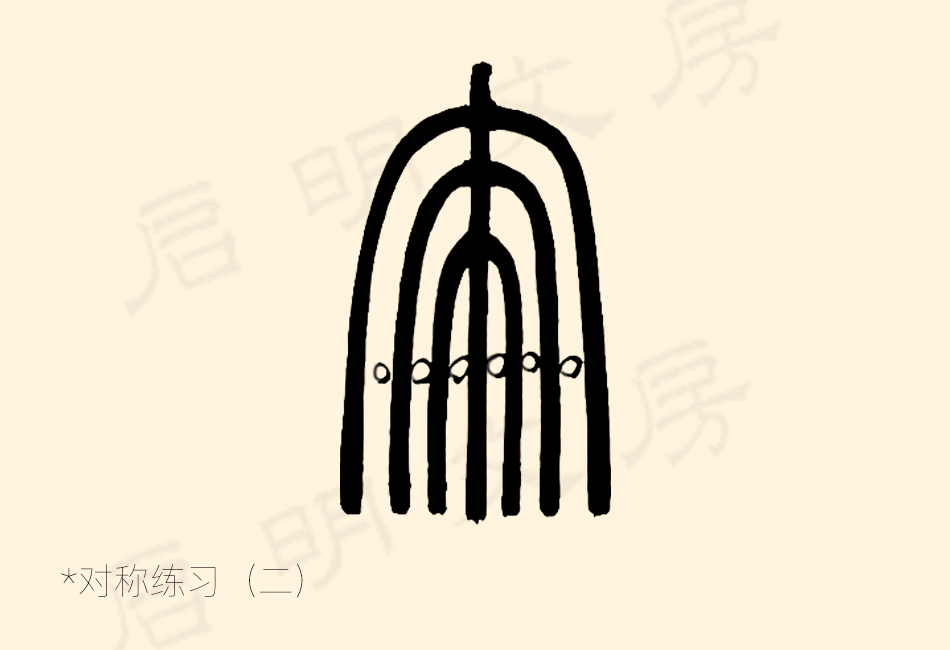
Set 2 — What to focus on:
- Use the center vertical line as your reference point.
- Keep the left and right curves symmetrical, with even spacing.
- Pay attention to how much each curve bends.
- The curves should run parallel to each other.
- Aim for a natural, drooping curve shape.
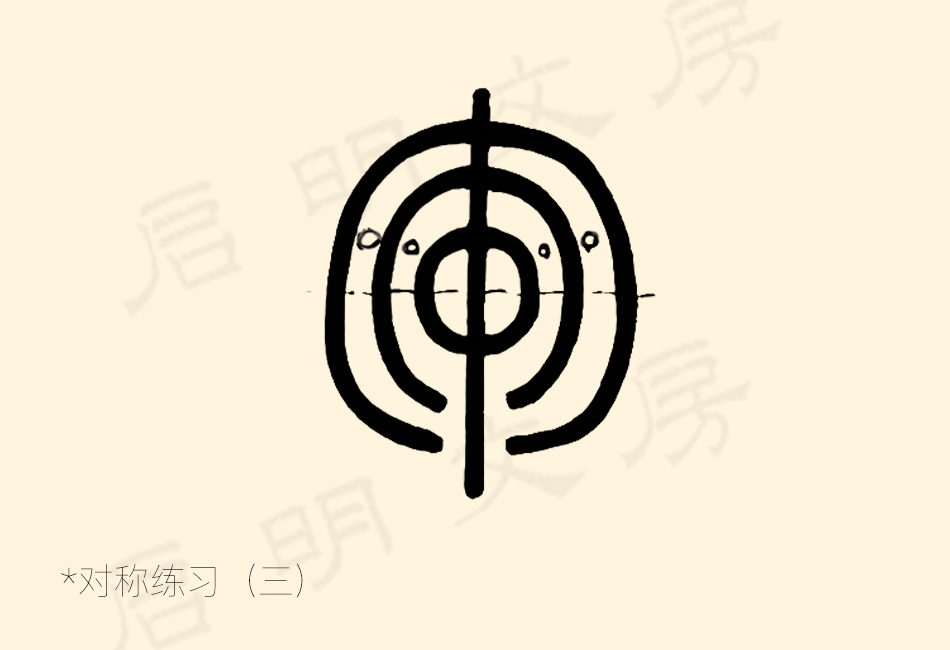
Set 3 — What to focus on:
- Use the center vertical line as your reference point.
- Keep the left and right curves symmetrical, with even spacing.
- Pay attention to how much each curve bends.
- The curves should run parallel to each other.
- Make sure the top and bottom of each curve are symmetrical too.
5. Curved Line Practice
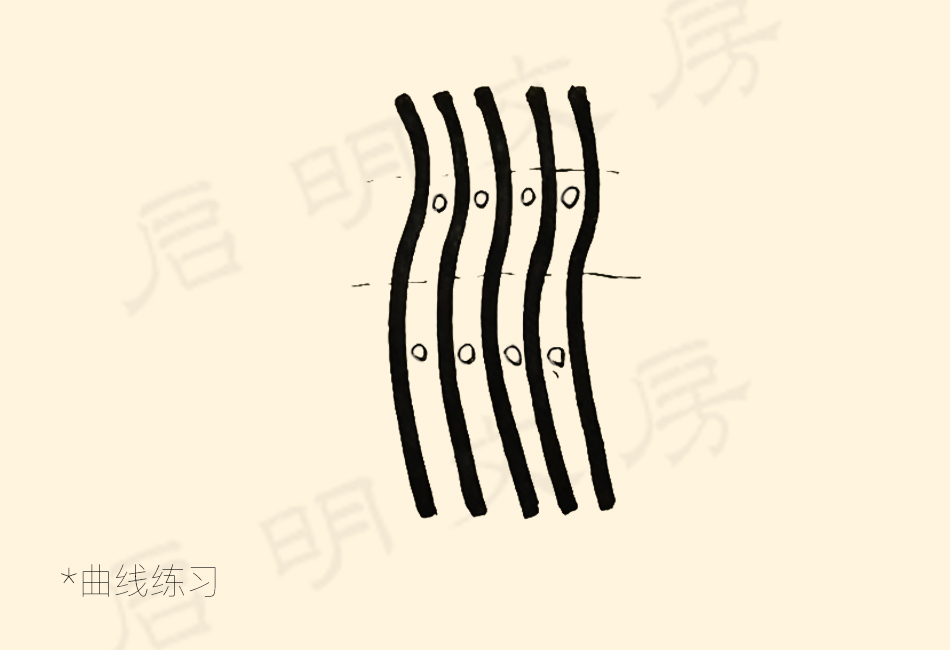
What to focus on:
- Pay attention to the direction and degree of each curve.
- Curves should run parallel to one another.
- Try to keep even spacing between curves.
6. Combined Curve and Symmetry Practice
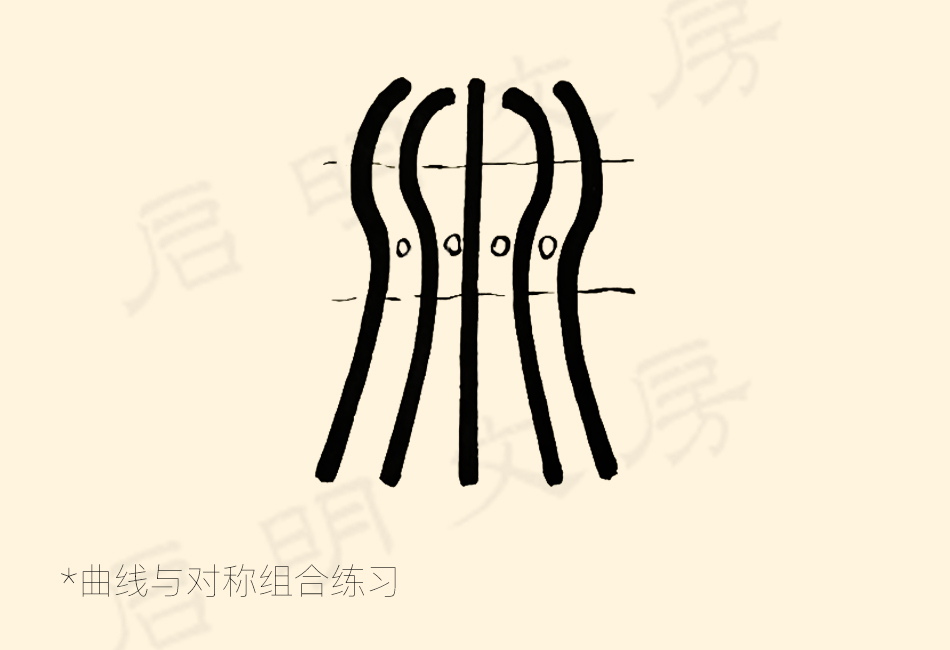
What to focus on:
- Use the center vertical line as your reference point.
- Keep the left and right curves symmetrical, with even spacing.
- Pay attention to the direction and degree of each curve.
- Curves should run parallel to each other and stay even in thickness.
7. Horizontal-Vertical Joint Practice
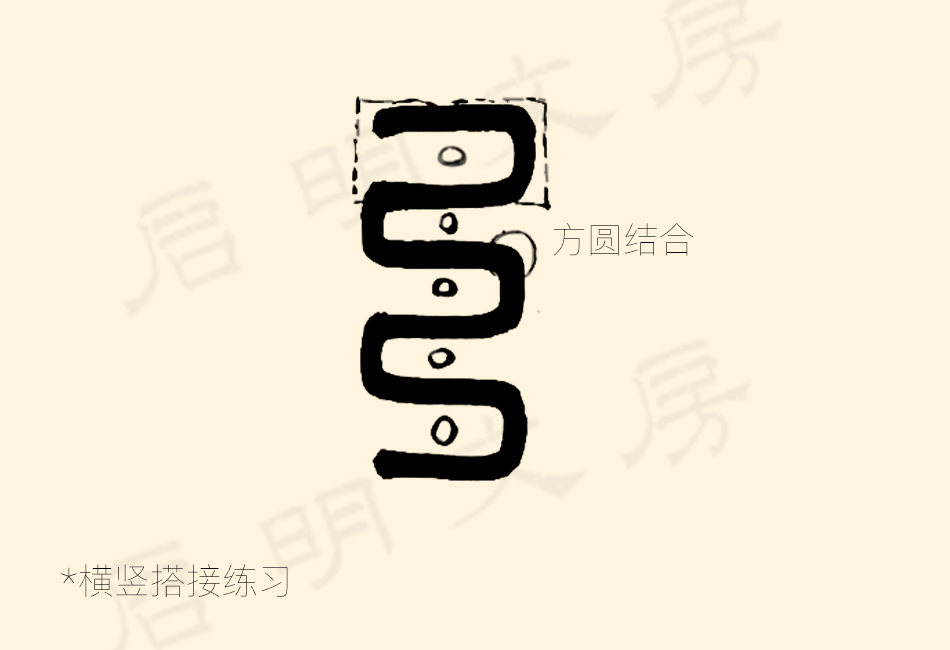
What to focus on:
- Where horizontal and vertical lines meet, they should overlap slightly, creating a subtle “welded” look.
- Keep the horizontal width and spacing consistent.
- Horizontal lines should run parallel to each other, forming an overall rectangular shape.
This touches on how strokes join together in Seal Script — a topic sometimes called “stroke joints.” If you’d like to go deeper on this, check out Qi Ming’s earlier article on the subject.
These are some of the most common brush control exercises used when learning Seal Script. For more Seal Script tips and lessons, keep following the Qi Ming calligraphy site — we regularly post new content designed to help beginners build a strong foundation.